If you’re currently suffering from the annoying side effects of a squeaky chair, then it’s about time that you do something about it.
Whether the squeaky noise is coming from a wooden chair, a gaming chair, or an office chair, we’ve got you covered.
In today’s article, we’re presenting you with a simple yet effective guide on how to fix a squeaky chair.
1. Find Out the Source of the Squeaking
Before you start oiling joints and tightening screws, it’s a smart idea to first find out where exactly the squeaking noise is coming from instead of making blind guesses and getting frustrated when the noise doesn’t go away.
The best way to determine the source of the squeaking is by carefully listening to where the sound is coming from.
You can do this yourself by sitting on the chair and standing several times, but the more efficient way is to get someone else to do the sitting, standing, and shifting of weight.
While they do that, you should be sitting on the floor trying to hear or see what part is causing the squeaking noise.
If you can’t pinpoint the exact cause, you can mark the areas of potential causes using little pieces of duct tape so you can come back to them later.
2. Prepare Your Tools
After figuring out the potential culprit parts, it’s time you get the proper tools ready for the job. Here are some you may need to include in your toolbox:
- A screwdriver
- A metal hammer
- A rubber mallet
- Some nails
- A drill
- Some bolt remover bits
- Lubricant, such as WD-40
- Heavy-duty construction adhesive
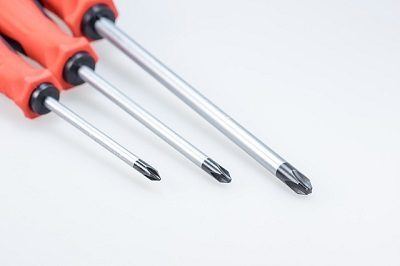
Now, you may not need to use every item on this list to fix your squeaky chair, but it never hurts to be prepared especially if you have a bunch of potential faulty areas lined up to inspect.
Besides, you may already have some of these tools lying around your garage or workstation.
Once you have everything you need, place the chair in whatever position you find is most comfortable for you to work.
Most likely, you’ll have to turn the chair upside down as the problem usually has something to do with the legs.
3. Tighten Any Loose Screws, Bolts, and Nuts
Don’t be quick to think of the worst, the solution to your chair’s squeaking issue may be as simple as tightening some loose screws or bolts.
You see, if you’re not the one who put the chair together (which is very likely if you’re not exactly handy), then the person who did may not have taken the time to properly screw all the parts together and make sure everything is nice and tight.
So before you move onto other fixing measures, take a look at the nuts and bolts on your chair.
Such inspection is best done with the chair flipped upside down so you can have better visual and physical access to the tiny screws.
To achieve a stable flipped upside-down position, stack books or catalogs up to the height of the chair’s seat when it’s upside down.
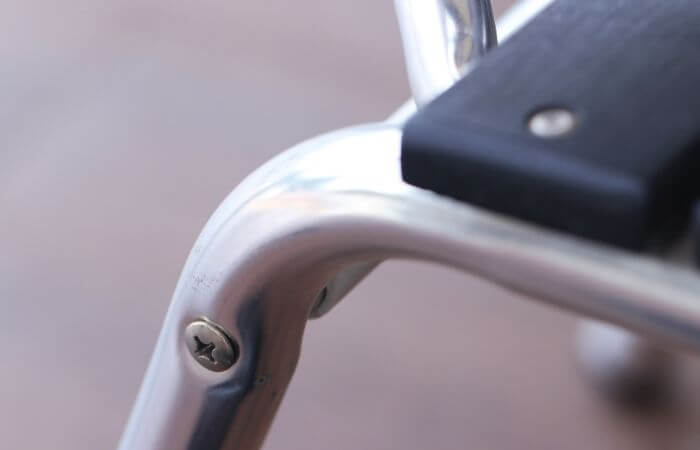
Then, turn over the chair with the seat resting on the stack.
Make sure it’s secure; the last thing you need is for the chair to tip over while you’re working.
From here, wiggle each screw or nut using your fingers.
Of course, you can tighten loose ones with your hands, but it won’t be a good enough method for a long-term fix.
Instead, use a screwdriver or a crescent wrench to properly tighten each screw or bolt.
Once you’re done, turn the chair over and test it using your normal movements.
If it’s still squeaky, flip it again and double-check; it’s easy to miss screws or bolts especially if they’re located in awkward places.
Flip the chair back to normal and try it again. If the squeak is still persistent, you can move on to check other areas.
4. Clean or Replace Rusted Parts
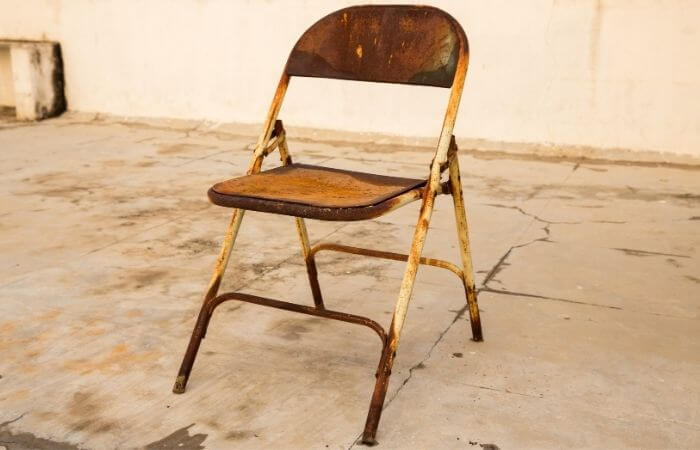
If the chair with the squeaking problem has any metal parts, you should make sure none of these parts is rusty.
If you do find some rust, clean it up as well as possible using toothbrushes, steel wool, or soak the rusty part in white vinegar or a carbonated solution.
If you can, it’s better to just replace the rusted parts with new ones.
5. Oil the Joints and Moving Parts
Oiling the joints or greasing the moving mechanisms means you’ll apply an oil or lubricant on all of the screws, nuts, and bolts to help loosen the joints and reduce friction.
It’s a very simple task to perform – just spray some oil or lubricant directly on the target areas and pat them dry.
Alternatively, you can spray some of the oil or lubricant on a soft cotton cloth and rub it onto the problem parts.
This will give you more control over the application.

Test out the chair, and if you can still hear squeaking after adding lubricant and tightening all the screws or bolts, then take them all out.
Lubricate the screws, nuts, and bolts using a light machine oil then put them back.
It’s helpful to have a friend sit in the chair as you apply oil or lubricant. This will help you better locate the squeaky area for more accurate application.
Ask the person sitting to swivel and shift their weight each time you add oil to see if you’ve hit the right spot.
6. Fix the Springs
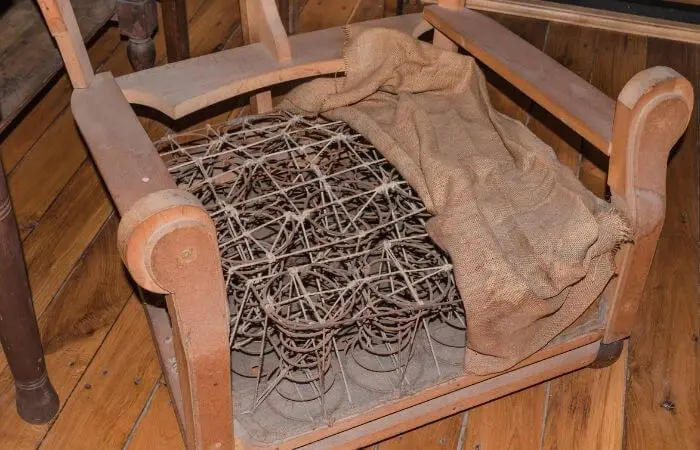
If you can still hear the squeaking noise, then the issue may have something to do with the springs in the back of the chair.
This is probably the case if the chair makes a noise only when you lean back because of the excessive tension that causes the spring’s ends to rub against the housing ends.
To fix such a problem, you need to apply oil to the seat tension spring sitting inside the turn-knob housing.
Loosen the seat tension turn-knob, detach it, then spray oil inside the housing.
7. Check the Wheels
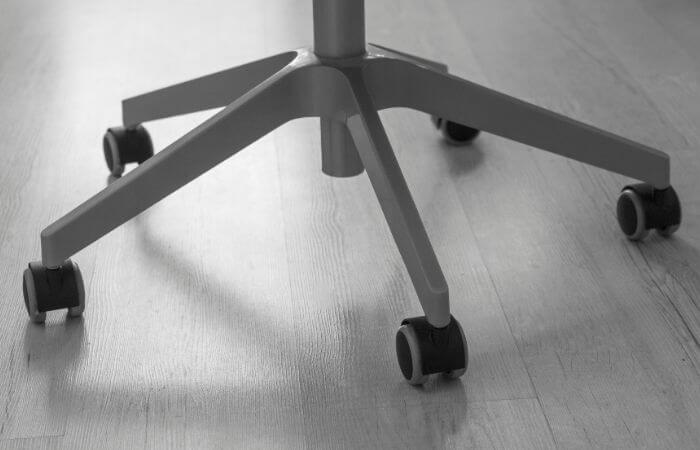
There are several types of wheels you can find on chairs out there, but the standard ones are inserted into the body of the chair through a metal post mounted onto the top of the wheel.
These metal parts can wear down over time, so they become loose causing the wheels’ axles to squeak from friction.
To check and lubricate the wheels, flip your chair upside down and remove the wheels.
Place them on paper towels and apply some silicone spray onto the wheels.
While you’re at it, give the metal posts a nice spray and make sure you reach inside the post housing.
8. Apply Glue on Loose Joints
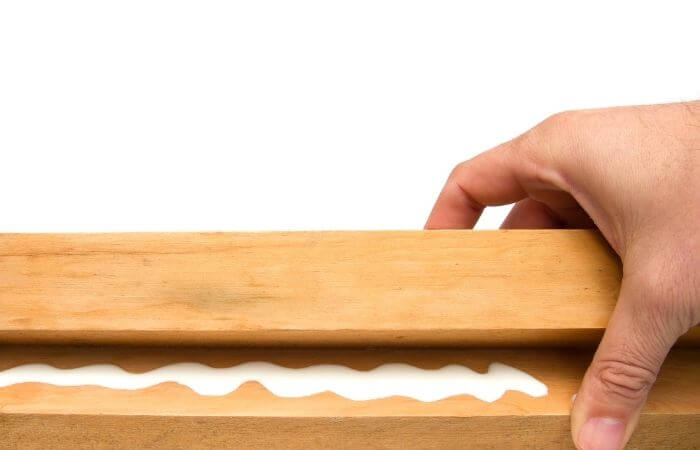
If you’re working with a squeaky wooden chair, the issue may be some loose joints.
If that’s the case, applying glue can help rid you of the squeaking.
There are many types of glue products designed for adhering wood parts that you can use on your chair’s joints, so just pick one that you trust.
Once you pinpoint the loose joint, put some wood glue inside the joint and let it dry all the way before turning the chair back to the upright position.
After that, wipe any extra glue that oozed out of the joint using a wet rag. If you want to make the glue thicker, try adding wood filler.
This will create a thicker paste that can help better stabilize the chair’s legs.
9. Use a Wood-swelling Liquid
If your wooden chair is suffering from very loose legs where it seems that glue just won’t cut it, consider expanding the dowels with a wood-swelling liquid.
Sometimes dowels shrink which causes chair parts to loosen up, so restoring them back to their original size can stop the squeaking.
10. Replace the Wooden Joint Plugs
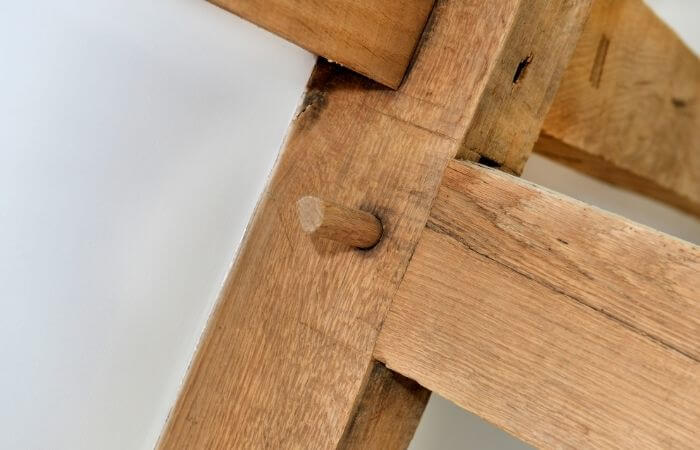
Last but not least, you may need to replace the nails or wooden joint plugs on your squeaky wooden chair, especially if the hardware is already loose or seems out of shape.
Adding new parts is the better option, but if you don’t want to remove the existing hardware, reinforcing with more nails or some bracket hinges can make the chair more stable.
If you’re planning to put more screws in, be sure to use nails that are long enough to secure the wood but not too long that they come out through the other side of the wood.
Wrap Up
While it’s true that a squeaky chair can be a pain in the butt for both the person sitting in it and others in the room, this doesn’t mean it’s time for a new purchase.
In fact, getting rid of the annoying noises can be as simple as following our 10-step guide on how to fix a squeaky chair.
As an Amazon Associate I may earn a small fee from qualifying purchases at no extra cost to you. This helps us run the site, so thanks for your support!