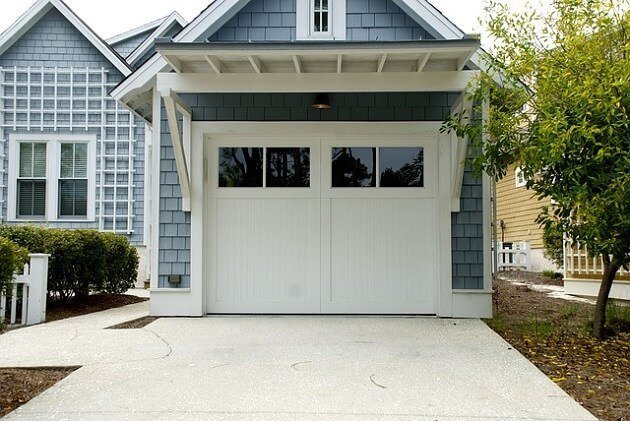
A poorly sealed garage door will cause problems.
Wind and rain can easily leak through, dirt can blow under the door and vermin can find their way into your garage if you fail to get it properly sealed.
Sealing your garage door will also help soundproof your garage which can be handy if you plan to use it as a music room, gym or anywhere you plan to make noise in.
To seal a garage door you will need:
- A garage floor seal..
- ..or a brush strip seal
- ..or a door bottom seal (choose one of these first three)
- Weatherstripping
- Rubber adhesive
- A garage door top seal
Most standard fit garage doors are not properly sealed, if your garage door is draughty and your garage is full of dust and mouse droppings then follow the steps below to get it sealed up:
1. Seal The Bottom Of Your Garage Door
When it is sunny outside go into your garage, turn all the lights off and check if any light can be seen coming in under your garage door.
If you can see light then you need to get your door bottom properly sealed. There are few ways you can do this:
Garage Floor Seals
A garage door floor seal is the easiest way to seal the gap.
They require very little work to install and are extremely effective at blocking weather, dirt, rodents and sound.
Garage door threshold seals are similar to acoustic thresholds that you may use on normal domestic doors, they are made from rubber and have a raised lip which the door closes against thus creating a seal.
To install your garage door seal follow these steps:
- Clean the floor so that no dust or debris is in the way.
- Measure the width of the door frame and cut the seal to size (a hacksaw will do the job).
- Close your garage door and put the seal down on so that the thin part ofthe seal slides under the door and the inside of the door sits against the rubber lip.
- Mark the floor with chalk to show where the garage door seal will go.
- Remove the seal and cover the floor space a criss-cross pattern of rubber adhesive.
- Press the seal firmly down and leave it to set for at least 24 hours.
There you go – all done.

Be aware that floor seals do have some drawbacks:
- They can be trip hazards.
- They prevent water flowing out of your garage (this can be a problem if you like to wash your cat in the garage.
- They make it harder to sweep dust and debris out of the garage.
Garage Door Brush Strip Seals
Brush strip seals are ideal for anyone who doesn’t want to make it harder to brush dirt out of their garage or for water to run out of the garage.
They consist of a strip with brush type fibers fixed to the inside of your garage door. When the door closes they brush the ground making contact with your floor and sealing it from the elements.
To install a brush strip seal on your garage door follow these steps:
- Line up the brush strip with the bottom of your garage door and mark on your garage where you need to drill holes (brush strips have pre drilled holes in them), make sure that the brush will hang sufficiently to fully seal any gaps.
- Drill the holes into your garage door.
- Screw the door sweep in the garage door.
- Ensure the door can close correctly.
Door Bottom Seals
A garage door bottom seal is a ‘U’ shaped seal which clips in place onto the bottom of your garage door, no glue or screws are required.
Simply measure your door, cut the seal to size and push it into place.
The seal traps a small amount of air inside it allowing it to compress when the door is closed creating a tight seal with the floor.
Also Read: 5 Best Quiet Garage Door Openers
2. Seal The Garage Door Sides Using Weatherstripping
The sides of a garage door are the second biggest culprit when it comes to noise, air, dirt, insects and rodents getting in.
Side gaps can be caused by a poor fitting frame or wear and tear to the frame over the years.
Weatherstripping is a great tool for sealing any door. To seal your garage door using weatherstripping follow these steps:
- First off make sure you buy purpose made garage door weatherstripping.
- Measure the inside edge of your door frame jamb (the part of the frame that the door presses up against when closed) and cut the weatherstripping to fit.
- Glue it in place using a rubber adhesive.
- Close the door to hold it firmly in place for at least 24 hours – make sure no glue spills onto the door or this could cause it to rip the stripping off when you next open the garage door.
3. Seal The Top Of Your Garage Door
If you want to do a comprehensive job you can’t ignore the top of your garage door.
A garage door top seal is a rubber strip which presses into your ceiling when the door is closed.
One big benefit of installing a top seal is that they make a significant difference to the temperature of our garage. Heat rises to the top of your room and can escape through any gaps above the door, installing a top seal keeps the heat in helping to keep your garage warmer.
To install your door top seal follow these steps:
- Clean the frame, removing all dust and debris from the top.
- Measure the width of the top of your garage door frame.
- Cut your door seal to fit.
- Line up the seal with the top of your door frame, ensuring that the lip hangs outwards (this can be awkward as the door often gets in the way, open your door fully and use a step ladder and you should be able to manage).
- Pull off the sticky back and press it into place.
- Check the door opens and closes smoothly.
We hope these tips help you transform your garage door from a liability into an impenetrable air-tight, weather-tight, rodent-tight, insect tight and soundproof garage door!
As an Amazon Associate I may earn a small fee from qualifying purchases at no extra cost to you. This helps us run the site, so thanks for your support!