Are you getting tired of listening to your neighbor’s Zoom calls or Zumba classes from above?
Having some peace and quiet can be difficult when your ceiling is someone else’s floor.
As you well know, noise travels very easily between walls, floors, and ceilings. Most floors are built on wooden joists with panels or floorboards placed across them and plasterboard nailed to the underside to create the ceiling.

This means that vibrations can travel directly through the floorboards, into the ceiling joists, and through your ceiling.
This isn’t ideal if you have a noisy neighbor upstairs, a teenager who likes to play loud music, or someone with very heavy feet living above you.
Fortunately, there are plenty of things you can do to deaden sound waves before they travel all the way through your ceiling.
Find out how to soundproof a ceiling below, so you can finally get a full night’s sleep without interruption.
If you’re wondering how to soundproof a ceiling, these are the most effective methods:
- Check for holes and fill them in.
- Insulate the ceiling cavity.
- Add resilient channels.
- Replace your plasterboard with soundproof ceiling panels.
- Install noise-blocking ceiling pads to your drop ceiling.
- Apply mass loaded vinyl.
- Build an independent ceiling.
- Insulate the floor above.
Type of Noise
When you’re working out how to soundproof a ceiling, it helps to know the type of noise you’re dealing with.
The noises that you can treat when soundproofing your ceiling include impact sounds and airborne sounds.
Impact Sound
This noise is caused by impact vibrations and is slightly easier to control.
It occurs when something hits a surface, causing vibrations to radiate from this point and be transferred throughout the building structure.
Examples of impact noise include:
- Heavy footsteps.
- Kids running.
- Items dropped on the floor.
- A washing machine bouncing on the floor (anti vibrations mats can help with this).
- Furniture being moved around.
Airborne Sound
Airborne sound can occur in ceilings when there are tiny holes in the structure of the building, in the ceiling cavities, or along the ducts.
This type of noise travels directly from the source to the receiver via sound waves in the air.
These sound waves will cause vibrations when they hit surfaces, such as floors and ceilings.

Examples of airborne noise include:
- Music.
- Television.
- Conversation.
- Vacuuming.
- Crying.
- Dogs barking.
Type of Ceiling
It’s also helpful to understand the type of ceiling you’re dealing with before you attempt to soundproof.
How to soundproof a ceiling can be done with different methods depending on the design and material of your existing ceiling.
Plasterboard
Also known as drywall, custard board, and many other names, this is the most common type of ceiling found in residential properties. It’s made of gypsum that’s covered in thick sheets of paper and is affordable to install.
While some types of plasterboard can offer soundproofing qualities, most that’s used for ceilings isn’t dense enough to stop noise transfer. However, it’s easy to soundproof this type of ceiling.
Suspended
A drop ceiling is separate from the structure above and suspended below. The idea behind this design is to cover up building infrastructure and provide improved acoustics and sound absorption.
The reason for this is the built-in decoupling, meaning the secondary ceiling creates a space that breaks up the sound pathway and reduces noise.
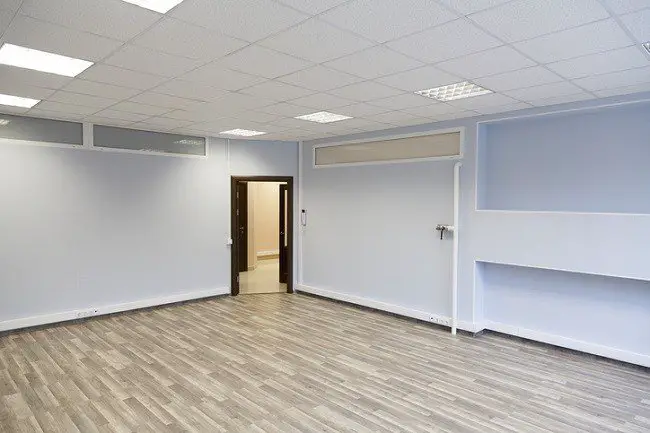
If your suspended ceiling doesn’t seem to be very soundproof, there may be elements within it that allow sound to travel through, such as light fixtures and duct systems. Another reason might be that your ceiling tiles are lightweight polystyrene, which aren’t dense enough to provide any soundproofing.
How To Soundproof a Ceiling: 8 Methods
To properly soundproof a ceiling, a lot of work is required. If you aren’t confident working up a ladder and doing things like removing plasterboard, then it’s best to call in a professional. However, if this doesn’t daunt you and you’re ready to try anything to stop the noise, then read on!
We have several options that you can check out if you’re wondering how to soundproof a ceiling effectively.
1. Check for Holes and Fill Them In
You will need:
- A keen eye.
- Glue.
- A step ladder.
While this is unlikely in newer homes, many older properties feature holes and crevices between floors to allow for cables to pass through.
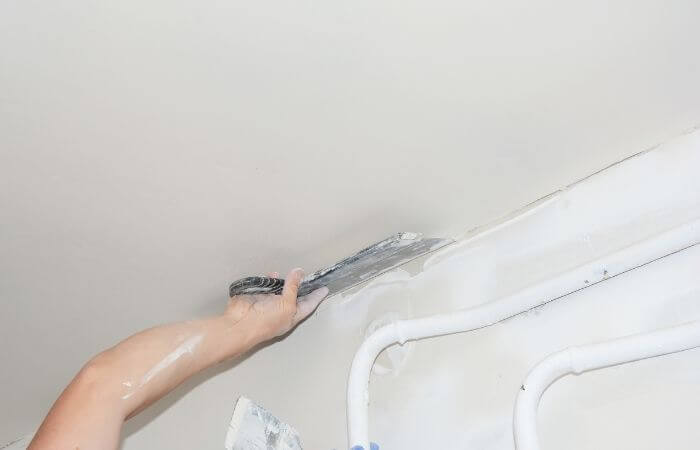
They may be small, but they create the perfect pathway for sound to travel down and disturb you.
If you do locate any crevices or holes, the easiest way to cover them up is with soundproofing glue, such as Green Glue.
2. Insulate the Ceiling Cavity
You will need the following soundproofing materials:
- Rockwool.
- Insulation saw.
- Claw hammer or screwdriver.
- Measuring tape.
- A step ladder.
To improve the sound resistance of your ceiling, start by removing the existing plasterboard or ceiling panels—this method can be used for almost all ceiling types.
First remove any light fittings, and then use the clawhammer (for nails) or screwdriver (for screws). This will expose the joists and the gaps in the ceiling.
Air is one of the best absorbers of sounds, so a product such as Rockwool—which is full of air pockets—will do a great job of soundproofing your ceiling.
Important Note:
When choosing any insulation to go in your ceiling, you must make sure that it’s flame resistant.
Electrical faults can very quickly send the entire building up in smoke if you use something that is flammable.
Rockwool has a melting point of over 1100°C so is a wise choice.
Next, measure your ceiling cavity spaces and use an insulation saw (or strong pair of scissors) to cut your insulation to a size that fits into the gaps.
It’s a good idea to cut your insulation around 2–4 inches wider than the cavity space.
This will allow it to be compressed into the space, meaning it should hold there without any glue required.
Not all insulation foams are compression fit, though, so make sure you find out first before making a purchase.
Rockwool is a compression fit product that doesn’t require gluing or nailing in at all; you can simply compress it into place between the ceiling joists.
Rockwool can be easily bent around wires and should be positioned with about 1 inch of air space between it and the floorboards above. This will help further reduce any sounds. If possible, add a couple of layers of Rockwool throughout the entire ceiling cavity.
Having done this, you can then put your ceiling panels back and call it a day. Or there are more steps you can take to further improve the sound deadening ability of your ceiling.
3. Add Resilient Channels
You will need:
- Resilient channels.
- Screws and screwdriver.
- A step ladder.
Resilient channels are metallic strips that you fix to your plasterboard. They’re designed to decouple your ceiling panels from the ceiling joists.
They do this by only having a small area of contact with the ceiling joists, which is padded with rubber, so that vibration transfer is minimal.
They also have lots of tiny channels that disrupt the vibrations as they travel through the metal.
Sound energy is then lost so that by the time the sound waves get through your ceiling, almost all energy has been turned into heat, so very little noise gets through.
Screw these across your ceiling joists at regular intervals, and then your plasterboard can be attached to the resilient channel. This should be effective for both impact and airborne noise.
4. Replace Your Plasterboard With Soundproof Ceiling Panels
You will need:
- Soundproof ceiling panels.
- Screws and screwdriver.
- A step ladder.
Adding more mass to your ceiling will always help improve its ability to block sound.
Soundproof ceiling panels are dense boards, which are usually made with a rubber layer in the middle of them to prevent vibrations.
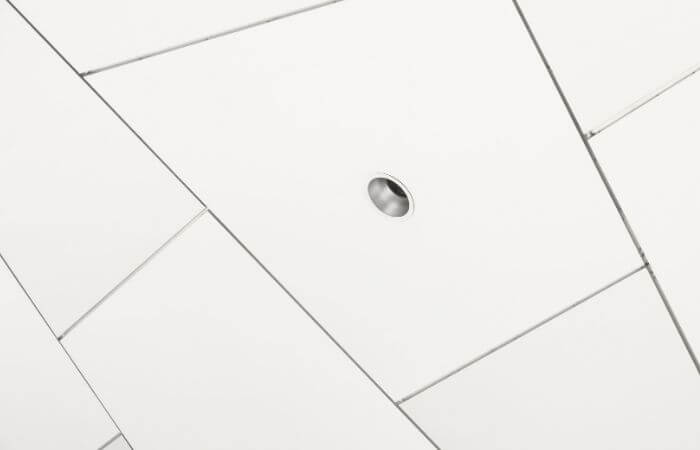
They are typically between 1–1.5 inches thick, so be aware that they can reduce your ceiling space somewhat, particularly when paired with resilient channels.
Screw these panels into your resilient channels (they can also be used without resilient channels, though the overall result will not be as effective as minimizing vibrations).
Ensure that the panels are exclusively fixed into the channels and are not secured to the ceiling joists.
This will compromise the effectiveness of the ceiling and will allow vibrations to travel through your ceiling very easily, rendering the resilient channels ineffective.
Once these have been screwed in, plaster over the top (we recommend getting a specialist to do this unless you are an expert) and decorate.
5. Install Noise-Blocking Ceiling Pads To Your Drop Ceiling
You will need:
- Noise-blocking ceiling pads.
- A step ladder.
If you have a suspended ceiling, the best course of action is to replace your ceiling tiles with soundproof ceiling tiles. This will make a huge difference if your drop ceiling is currently made out of lightweight foam tiles.
Replace your existing tiles with specialized noise-blocking ceiling pads, or simply place them on top of the tiles you already have to soundproof your room.
Make sure the new tiles you buy are the same size as your existing ones, or cut them to size.
They should then fit into the frame of your drop ceiling, either on top of the old tiles or in place of them.
6. Apply Mass Loaded Vinyl
You will need:
- Rolls of mass loaded vinyl sufficient for the ceiling area.
- Measuring tape.
- Sharp scissors or knife blade.
- Adhesive, nail gun, or hammer and nails.
- Stapler.
- A step ladder.
Mass loaded vinyl is an excellent soundproofing material that can be used on any surfaces in a non-invasive way—including walls, ceilings, and floors.
It will decrease the transmission of vibrations, giving you protection from all types of noises at any frequency.
This can be a DIY job as it’s relatively easy to install, though you may need another pair of hands. It’s best to apply it between drywalls for the best aesthetics and effectiveness.
Start by measuring your ceiling and cutting the mass loaded vinyl to size with scissors or a knife blade.
Add the adhesive if you’re using this method. With two pairs of hands, lift each section of the mass loaded vinyl up the ladder and flatten to the ceiling in the right place. Use a stapler to secure it in place every 8 inches or so.
Next, wipe it flat if you’re using adhesive, or use nails to secure it properly. Overlap each sheet of vinyl by about 2 inches, and use heavy-duty tape to fix the seams.
For any fixtures, simply cut a hole out of the mass loaded vinyl in the correct size, before or after you apply it.
7. Build an Independent Ceiling
If your room doesn’t feature a drop ceiling, you can essentially build one to help reduce noise.
In a similar way to adding padding to a wall to soundproof it, you can construct an independent ceiling under the existing one as an effective noise-reducing method.
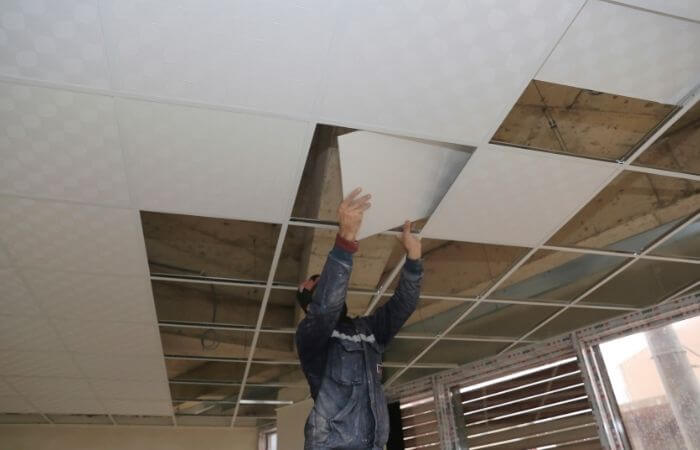
However, you must be aware that you’ll lose some height to your room (a minimum of 6 inches) with this technique, so it’s best suited to rooms with high ceilings.
One benefit to this is that there’s less overall space to be heated or cooled, which saves on energy bills.
The new ceiling you build won’t be connected to your current ceiling and will be designed with soundproofing in mind.
It’s best to hire a professional to undertake this task, but it’ll be extremely effective with both impact and airborne noise.
8. Insulate the Floor Above
It may not be possible for everyone, but if the floor above is within your property or you’re friendly with the neighbor, sound-insulating the floor above your ceiling is highly recommended.
This is because when noise is absorbed at the source, it minimizes vibrations and achieves a better result than absorbing it from the ceiling below.
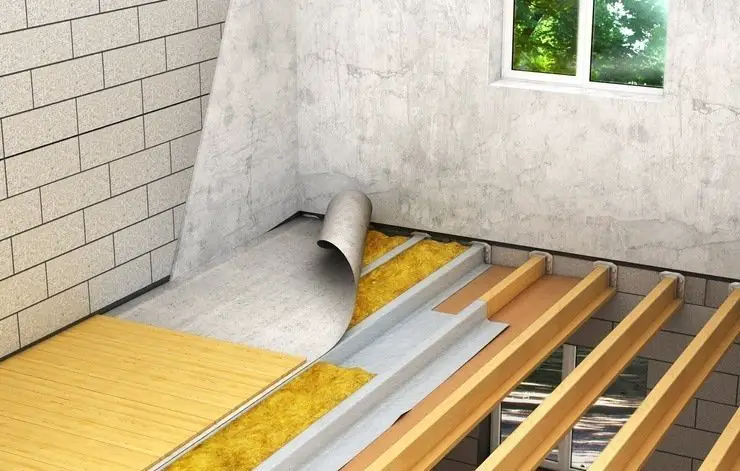
If you can add soundproofing materials to both the floor and the ceiling, you’ll get the ideal result, and minimal noise will make it through.
Insulating the floor can be done with acoustic floor insulation, mass loaded vinyl, or even just laying thick carpets or rugs.
Also Read: 9 Devices For Dealing With Noisy Neighbors
Frequently Asked Questions:
How Do You Soundproof an Existing Ceiling?
It’s not always necessary to remove or damage your existing ceiling to soundproof it.
You can check for holes and fill them in, add an extra layer of drywall on top, soundproof the floor above, or build an independent ceiling under your existing ceiling if the height allows.
Does Soundproofing Ceiling Really Work?
If carried out correctly, soundproof ceilings can drastically reduce the amount of noise in a room.
If you’re trying to work out how to soundproof a ceiling to its best effectiveness, insulate the floor above as well, if possible.
Do I Need To Soundproof My Entire Ceiling?
When soundproofing any surface, it’s always recommended to cover the entire area no matter if you’re trying to prevent airborne or impact noise.
If you miss a spot, sounds will continue to come through this pathway, defeating the objective of the soundproofing in the first place.
Essentially, it’s all or nothing, so ensure to cover the whole ceiling.
How to Soundproof Ceiling From Impact Noise?
All of the methods we have listed above will be effective at reducing impact noise in your room.
Resilient channels, Rockwool, mass loaded vinyl, and soundproof ceiling panels are all proven methods that help to soundproof ceilings from impact noise.
Can You Put Spotlights in an Existing Ceiling?
It’s very much possible to install spotlights into an existing ceiling without taking it down.
However, to install spotlights, an electrician will drill holes across the ceiling for each light.
If you’re having issues with noise coming through your ceiling, adding holes to it is only going to worsen the problem.
In terms of soundproofing a ceiling, having one single light on your ceiling compared to several is preferred.
Use wall lights instead, and then you have the opportunity to soundproof your ceiling with minimal gaps in the material.
As an Amazon Associate I may earn a small fee from qualifying purchases at no extra cost to you. This helps us run the site, so thanks for your support!
