Floor joists typically run across the entire width of a house, in some cases terraced houses may share floor joists.
This means that heavy footsteps or other impact noise made in a room can easily travel through the floor joists and be heard in the adjacent room or building.
Soundproofing your floor joists is one of the most effective things you can do to soundproof a floor.
There are two ways to soundproof floor joists:
- Decouple The Floor From The Joists: Decoupling your floor from the joists is a relatively easy and cheap way of soundproofing them.
This involved pulling up the floorboards and fitting cushioning on top of the joists which the floorboards will then lay on.
This will dampen soundwaves traveling into the floor. - Separate The Joists: The most effective method is to separate the joist at the wall so that instead of having a joist running through two rooms you have separate joists in each room.
This means sound waves can’t travel through the joists into the adjacent room.
This method is very effective but it is expensive as it must be done by a professional (click here for a quote) as, if done incorrectly, your floor could collapse.
How To Decouple The Floor From The Joists
Decoupling a floor from the floor joists is an easier and cheaper alternative way of soundproofing your joists that doesn’t necessarily need professional help.
Follow these steps:
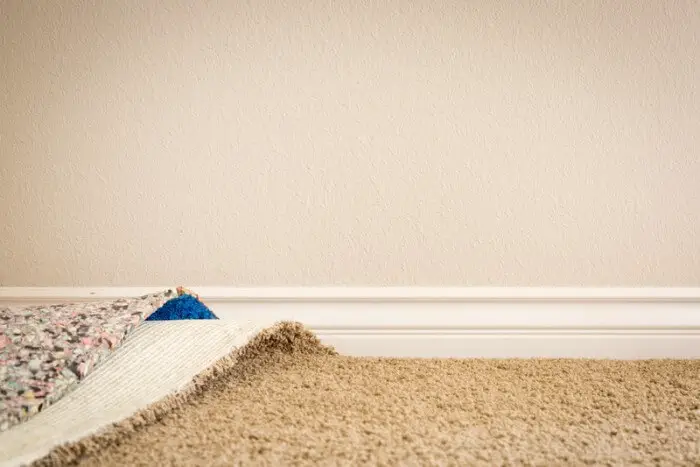
1. Take Up The Carpet
If you have carpet, a rug, lino or tiles on your floor then you will need to take them up to access the flooring beneath.
Take care not to damage the flooring so that it can be relayed after use.
Most carpets are secured using gripper rods around the perimeter of the room.
The best way to detach a carpet from its grippers is to go to the corner of the room and pull the carpet with pliers.
Once the corners have been detached it should be easy to pull up the rest of the carpet.
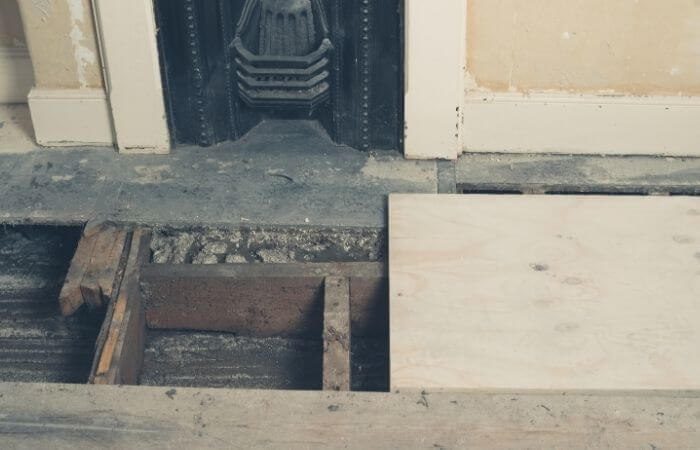
2. Take Up The Floorboards
Now you need to take up the flooring that is secured to the joists.
Most homes will either have floorboards or MDF sheets that are screwed or nailed into the joists.
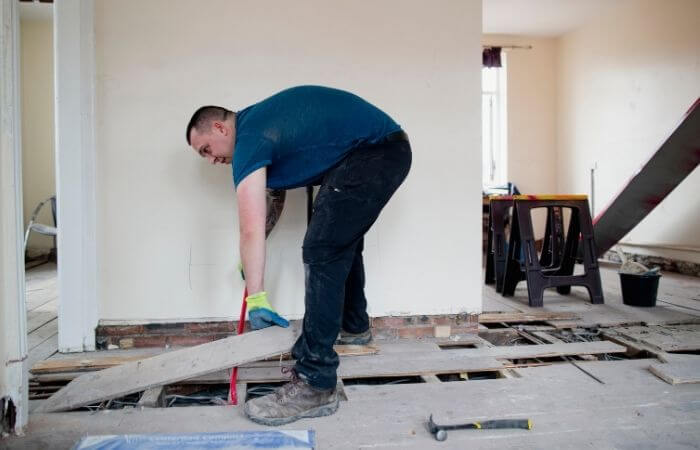
Use a screwdriver or the claw head of a hammer to detach the boards.
Don’t lift all of the boards up at once otherwise you will have nowhere to stand and there is a danger you may trip and fall between the joists!
Instead uncover one joist at a time, follow the steps below, and then uncover the next joist.
3. Add Dampening Material To The Top Of The Joists
Adding a soundproofing material to the top of your joists will significantly dampen vibrations travelling through the joists making impact noises in rooms that share joists sound far quieter.
There are a number of different types of materials you can use for this including:
- Joist tape
- Neoprene strips
- Old carpet/underlay
- Strips of rubber
Cut the material into long thin strips that are the same width as the joists.
Then use green glue or a green glue alternative (this will help further dampen vibrations) to secure the strips to the joists.
Ensure that each joist is fully covered from end to end for maximum impact.
4. Decouple Your Flooring From The Wall
If your floorboards touch the wall then vibrations can still travel through hte joists, into the wall, into the floor and into the room.
Decoupling the floor from the wall will prevent this from happening.
To decouple your floor all you need to do is take around 5mm off the end of your floorboards.
The gap will be hidden by your skirting boards.
5. Refit The Boards
When refitting the boards do not use nails or screws to secure them in place.
Screws and nails create a direct vibration channel from the joists to the floor, using them will completely negate the effect of the dampening material.
If you have to, use green glue on top of the dampening material to help secure the floorboards in place, though ideally none should be used.
Once carpet and furniture are moved back into place any wobbly floorboards will feel far more secure.
How To Separate Floor Joists
A word of warning before we get into this, separating floor joists is dangerous as there is a very high risk that your floor will collapse if it is not done with care.
This kind of job should only be undertaken by an experienced professional.
To separate floor joists you would need to do the following:
1. Identify The Best Access Point
If you’re separating floor joists that aren’t on the ground floor then you may find that this job is easier to do from underneath providing their is enough ceiling space.
Doing this from underneath may also save a lot of work as you may not have to pull up all the floorboards.
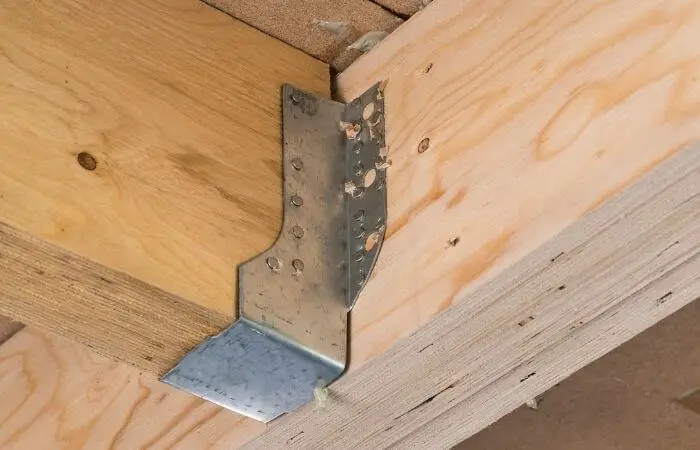
2. Fit Wall Brackets
Instead of running through the walls your new joists are going to be anchored on the walls.
You will need to get some heavy-duty wall brackets and bolt these to the wall with strong load-bearing bolts.
Make sure to measure up carefully to work out where exactly the bracketts should be bolted.
We recommend cutting a piece of the new joist off and using it to measure mark out exactly where the brackets will need to go.
3. Fit The New Joists
The most efficient way of fitting the new joists is to screw one bracket into one end of the joist, then put the other end of the joist in the bracket that is attached to the wall.
Pivot the bracket into place making sure that it is correctly aligned with the pre-existing joists.
Then bolt the second bracket into the wall.
4. Cut Away Old Joists
Once you have completely finished fitting the new wall hung joists you can then cut away the old joists.
Make the cuts as close to the wall as possible.
If there are any gaps around the old joists fill these with a polyfilla or similar to prevent airborne noise travelling through.
As an Amazon Associate I may earn a small fee from qualifying purchases at no extra cost to you. This helps us run the site, so thanks for your support!
